Have you ever painted with a toothpick before?
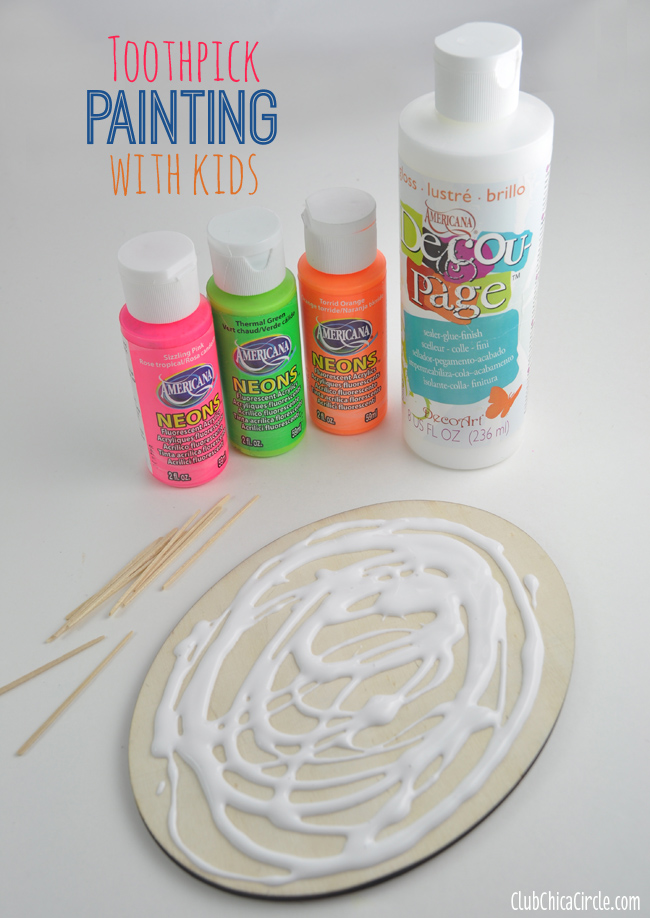
This is what you will need for your own toothpick painting fun:
Supply list:
- Decoupage or school glue (I prefer the decoupage with the glossy finish and I used Americana Decou-Page)
- Craft Paint colors of choice (I used Americana Neons Fluorescent Acrylics)
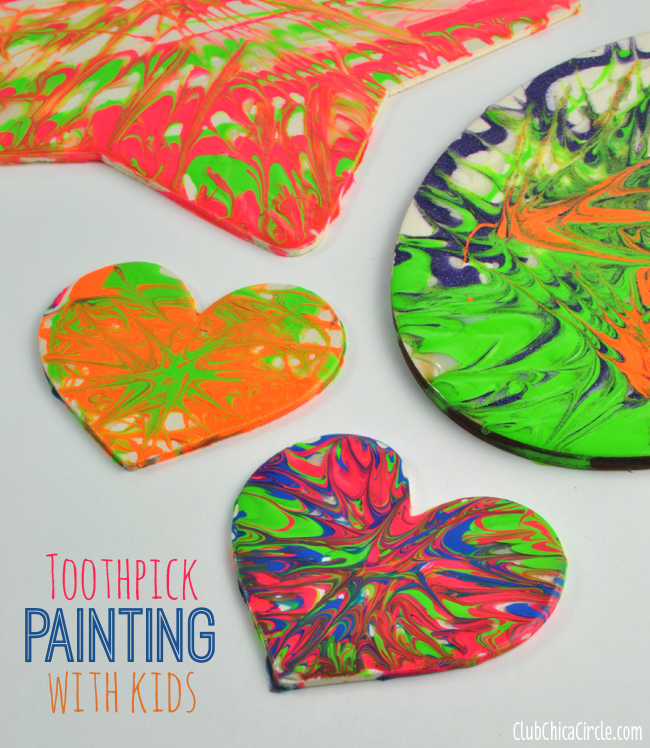
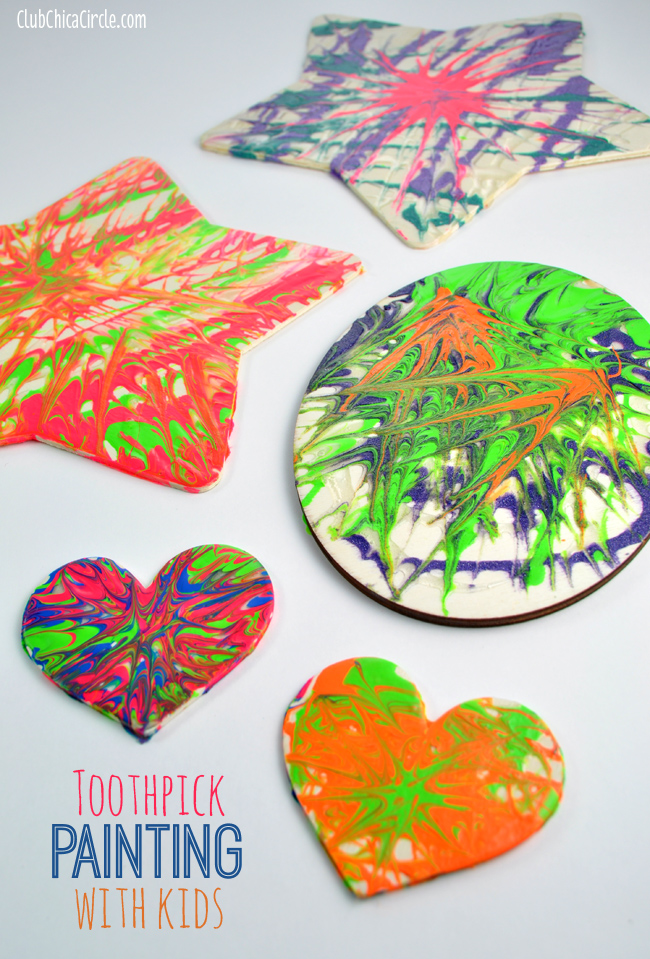
- Wood shapes (found at your local craft store, I used wood ovals for Easter eggs, stars and hearts from Michaels)
- Toothpicks
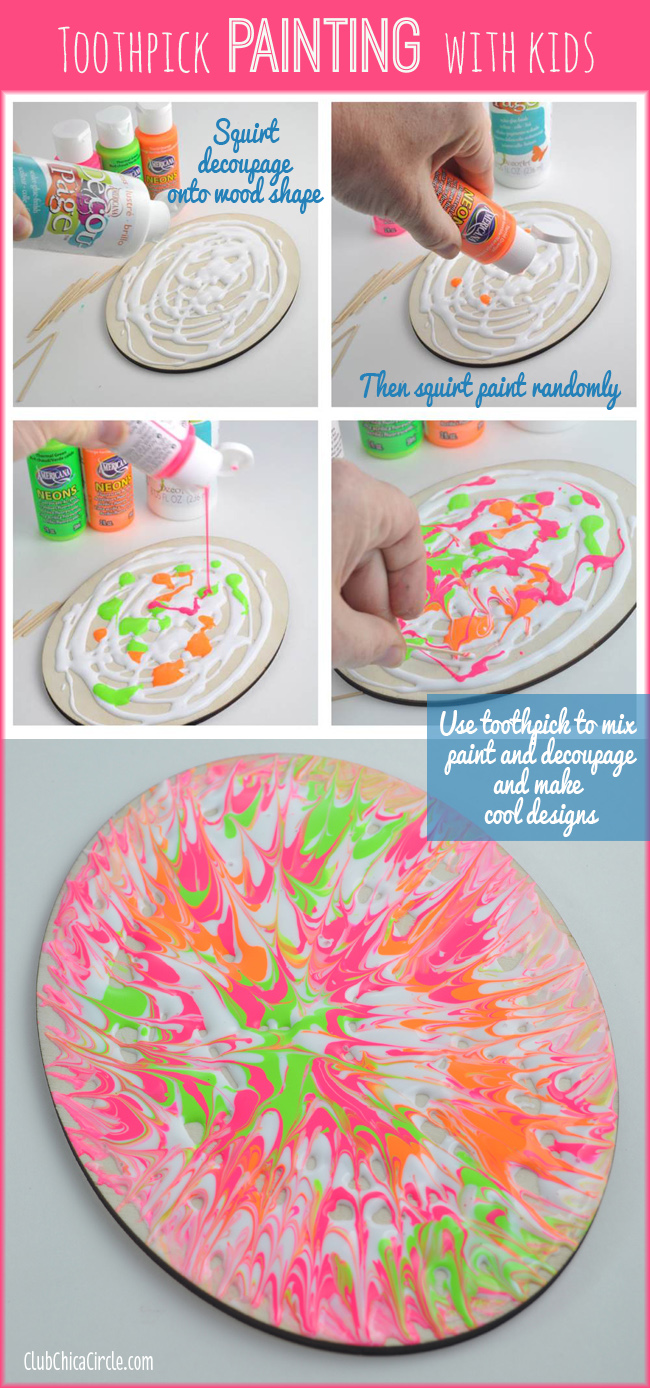
Here is how this simple painting technique works:
- Start by randomly squirting decoupage on top of your wood shape
- Then squirt on paint colors randomly on top
- Use a toothpick to spread and mix the paints to make cool designs
- Let dry
Above it what it looks like before it dries.
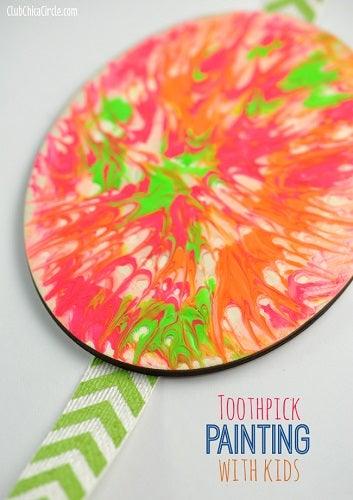
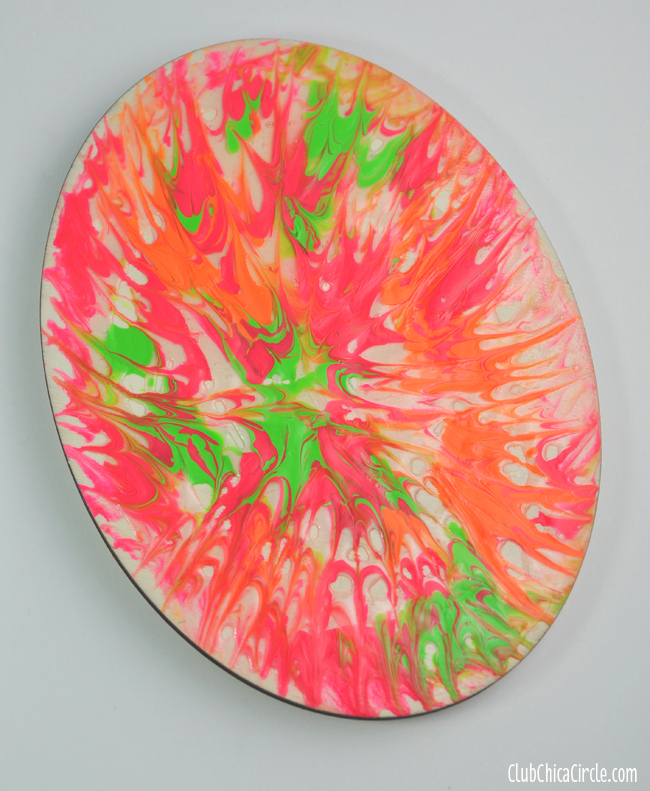
And here is what it looks like after its completely dry. The surface is really shiny, and has a cool dimensional effect. Wherever the decoupage was, it is now clear and the cool color design shows through.
Warning! Once my daughter got going, she couldn’t stop! = )
You can use whatever paints you choose. We started with the Americana Neon Acrylic paints, and moved on to some glittery paints as well.
I have found these tubes of paint for less than $1 each at my local Michaels. The wood shapes range from usually a quarter to less than a $1 as well.
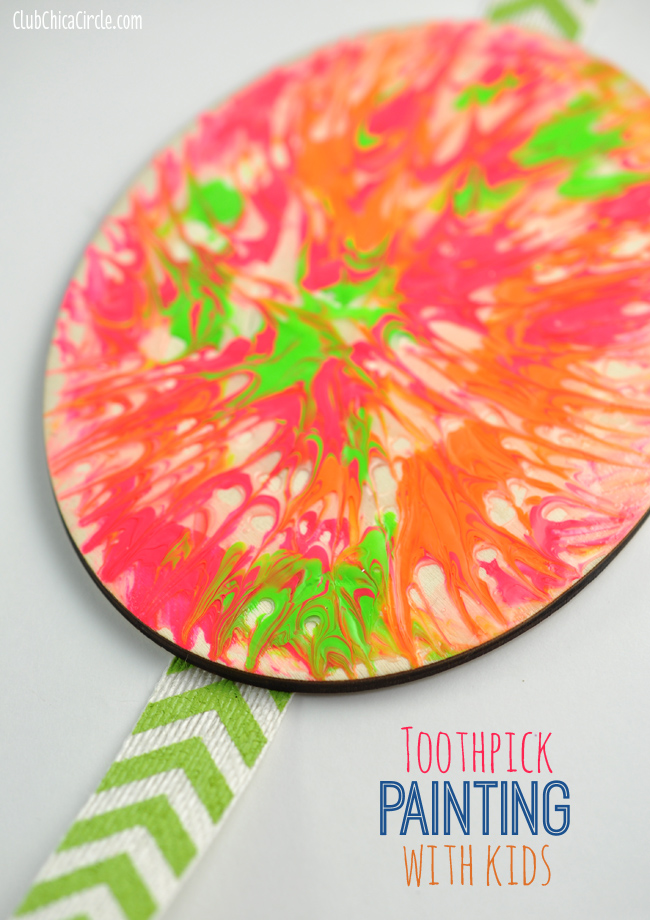
Then you can add ribbons to the backs and hang them as pretty ornaments or decorations after you are done. You can turn these into gift ideas, or group craft classroom activity too!
SOURCE: http://club.chicacircle.com/

